In order to create a new task, from the main menu navigate to Tasks and click on the New Task button.
- Subject – Enter the subject for the task in order to easily identify it.
- Hourly Rate – Set task hourly rate
- Start Date – Set the date when the task should be valid.
- Due Date – Set the due date when this task should be finished.
- Priority – Select task priority, Low, Medium, High, Urgent.
- Repeat Every – If you want to mark this task as recurring to be repeated based on the period selected, select recurring options accordingly to your needs.
- Related To – If you want to associate the task to a specific feature like a project, customer, invoice, etc.. you can choose from this list.
- Tags – Add task tags for easier identification, for example, bug, WordPress, etc…
- Task Description – Provide additional information for the task.
- Click Save
After you create the task, you will be able to add assignees and followers directly in the task modal from the right side.
When a follower or assignee is added to the task, the user will receive an email and bell notifications that he/she is added as an assignee or follower to the task, if you need to adjust the email templates that are sent to the user, you can do this in Setup->Email Templates.
Task Comments
The users that are able to view the tasks, like creators, assignees, and followers, can comment on the task for further collaboration.
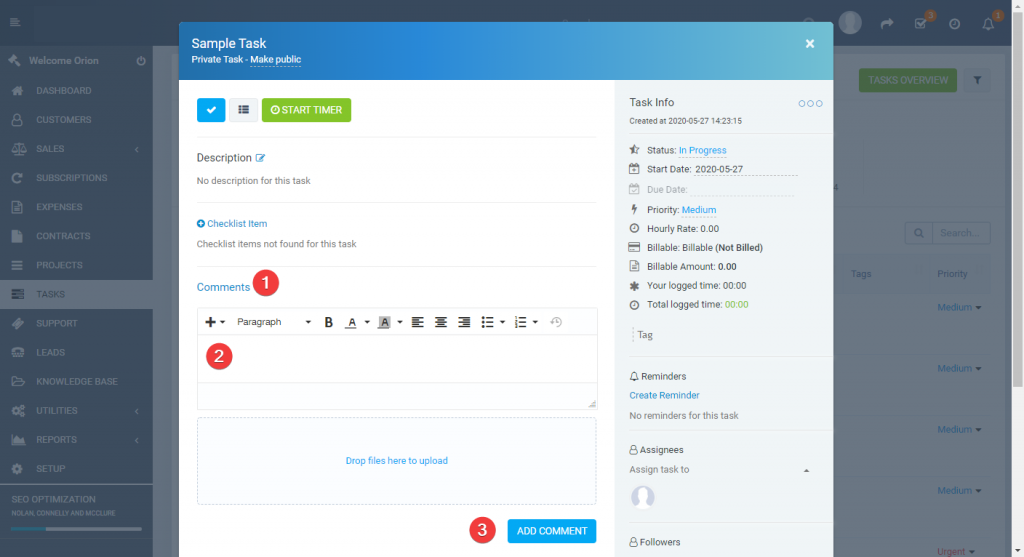
To add task comments, inside the task modal, click on the Comments link and click on the empty text area to add comment content.
If you need to attach files with the comment, you can just drag and drop the files inside the marked upload files area.